How to configure xTeVe on Ubuntu Server 22.04
xTeve is a M3U Proxy for Plex DVR and Emby Live TV, allowing to watch your IPTV channels on Media Server of choice.
This article will list step-by-step instructions on how to setup xTeVe on an Ubuntu Server 22.04.
The steps below follow a fresh installation of Ubuntu Server 22.04.
Once the server is ready, connect to the server via SSH, here I used PowerShell:
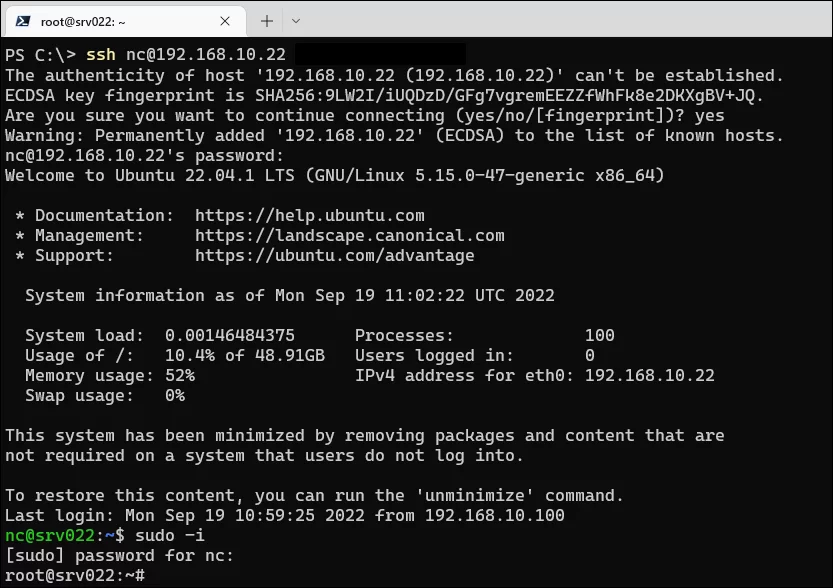
Once connected, run “sudo -i” to get ‘superuser‘ permissions to the server.
If you have a minimized version of the Ubuntu Server installed, then would recommend installing “nano” and “unzip”, both required further down.
You can do that by running the commands below:
apt-get install nano
apt-get install unzip
Next, create a directory for xTeVe, then navigate to the created directory and download xTeVe.
Run each of the commands below:
mkdir xteve
cd xteve
wget -O xteve_linux_amd64.zip "https://github.com/xteve-project/xTeVe-Downloads/blob/master/xteve_linux_amd64.zip?raw=true"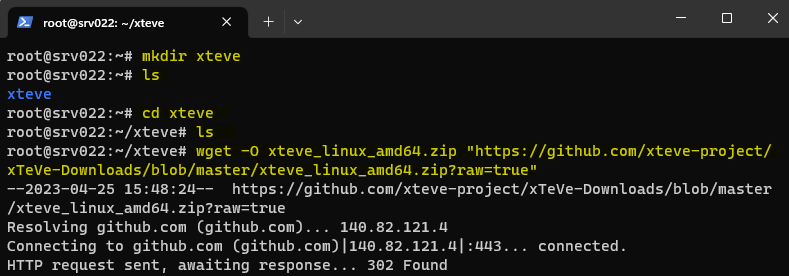
To unzip xTeVe run:
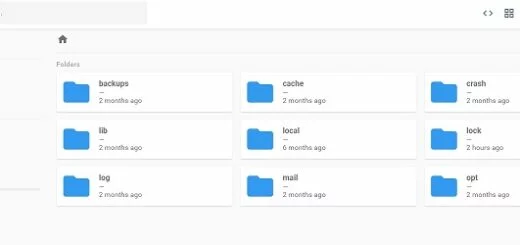
unzip xteve_linux_amd64.zip
You should now see the below in the “xteve” directory:

Delete the “.zip” if you want to by running “rm xteve_linux_amd64.zip”, no harm either way.
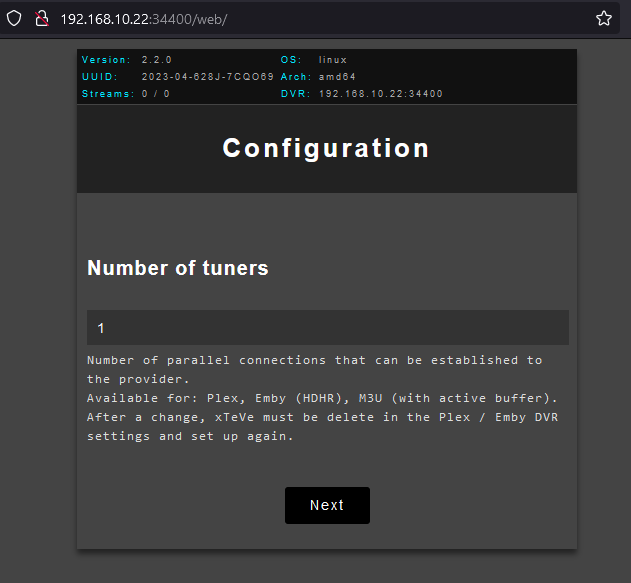
We could now start xTeVe and access it on a web browser, as below:
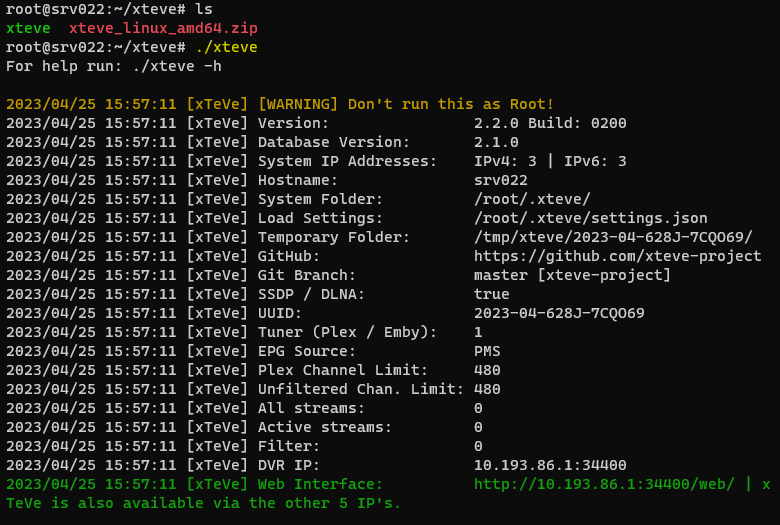
Note: I do not expose this server to the Internet, would not recommend you do unless you take extra precautions, such as creating a specific user for xTeVe to run as, and configure extra security on the server.
Let’s configure xTeVe to start as a service.
To do that, start by creating a new file name “xteve.service” in the path “/etc/systemd/system/”, I do that by running the command below.
nano /etc/systemd/system/xteve.serviceThen paste the below into that file:
[Unit]
Description=xTeve
After=network.target
[Service]
ExecStart=/root/xteve/xteve
[Install]
WantedBy=multi-user.target
Save your file by pressing “CTRL + O“, to close the editor press “CTRL + X“.
The above is the simplest of the configurations, I’m not setting a custom port or any of the other possible options, just as is.
Finally, run the below to enable this service to start at boot.
systemctl enable xteve.serviceBefore you reboot your machine, you can start and stop your xTeVe service using the commands below for testing;
systemctl start xteve.service
systemctl stop xteve.service
That is it, xTeVe is installed and ready to configure.
I get all my M3U’s from IPTV-ORG, they also provide a good variety of EPG’s.
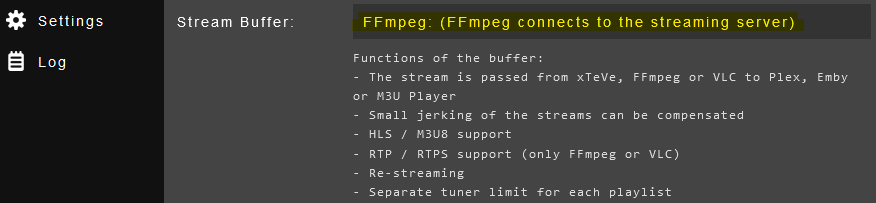
Highly recommend that you install “ffmpeg” and use it as the streaming buffer in xTeVe.
To install “ffmpeg” run “apt-get install ffmpeg” on the server, then configure it as the “Stream Buffer” in xTeVe.


What ffmpeg buffer size are you using?
Awesome guide thank you!
correction. I have configured it to be m3u however i would like to try with xmltv. is that possible to change?
Not sure I’m understanding you question.
Both are required, the .m3u being your streaming playlist, and the .xmltv which provides the EPG for your channels.
Haven’t put together an article on that, but found you the below, would recommend reading from point 4 onwards:
https://www.rapidseedbox.com/blog/guide-to-xteve#034
Once you have your channels list (added by the m3u) and guides (from xmltv) you must map playlist channels (M3U data) to EPG channels (XMLTV data).
You can manage your m3u playlists and xmltv EPGs from the xTeve UI.
Hi.
Is it possible to change from 3mu to xepg? or just to restart the configuration from scratch?
Thanks a lot! No issues after the installation.