Installing OpenVPN with PiVPN on Ubuntu running Pi-Hole
This article assumes that you are running Pi-Hole as per described here.
Step-by-step tutorial on how to install PiVPN on an Ubuntu server with Pi-Hole installed.
This will also allow you to use Pi-Hole on any device connected to the VPN even if not connected to your network at home.
Connect to your server, and start the installation.
SSH onto your server using your preferred client, to connect to your server you will need your username, password and IP Address of the server you are connecting to, then connect using the command ‘username@IPaddress‘.
You will be asked for your password and to confirm that you want to continue the connection (if you are logging into the server for the first time).
ssh [email protected]Wait to get connected, then run the command below to download and start the installation of PiVPN.
sudo curl -L https://install.pivpn.io | bash The installer will start, follow through the configuration until completed.
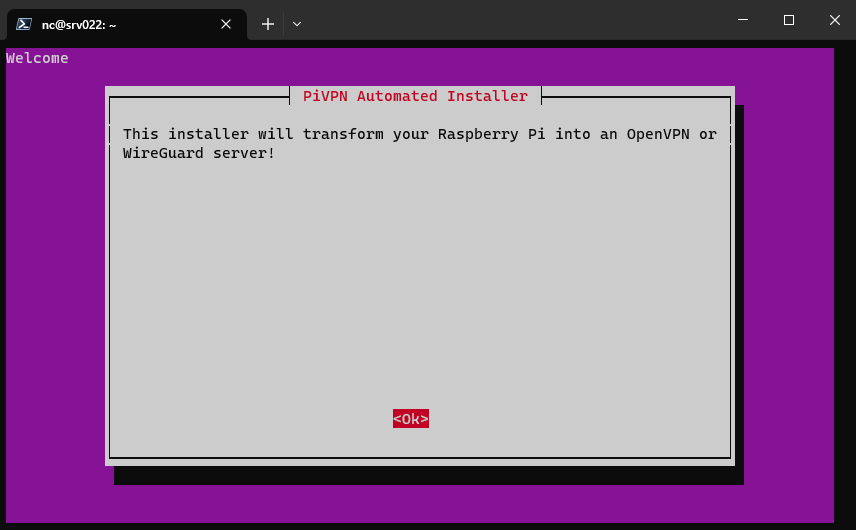
Press “Enter” to continue.
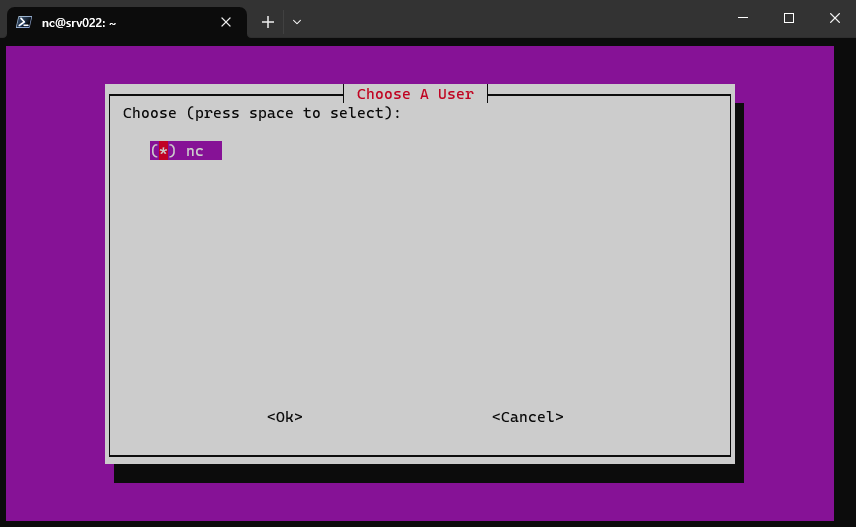
Continue by pushing “Enter” when prompted, until you get to the below screen, chose the respective user if multiple exist on that server, push (TAB) to select “OK” and push “Enter”.
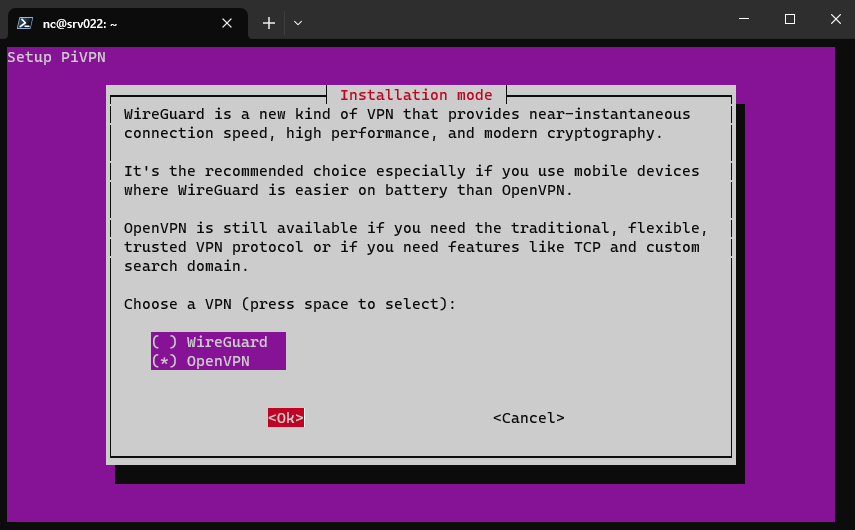
Continue with OpenVPN
When presented with the below, we continue with OpenVPN.
Use the keyboard arrows to chose “OpenVPN”, push the space bar to select it, push “TAB” to select “OK” and push “Enter” to continue.
Select “No” on the next screen to continue, or chose “Yes” to further customize your configuration.

Confirm if happy with the default Port, or change it to meet your requirements.
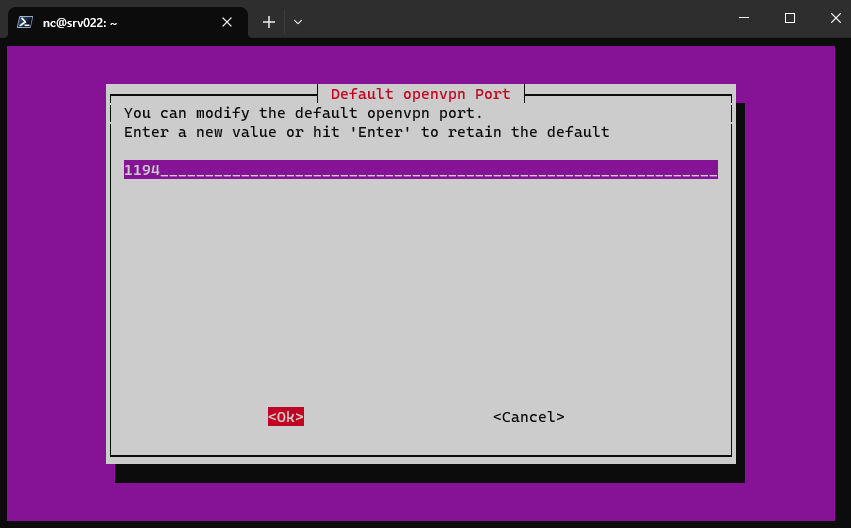
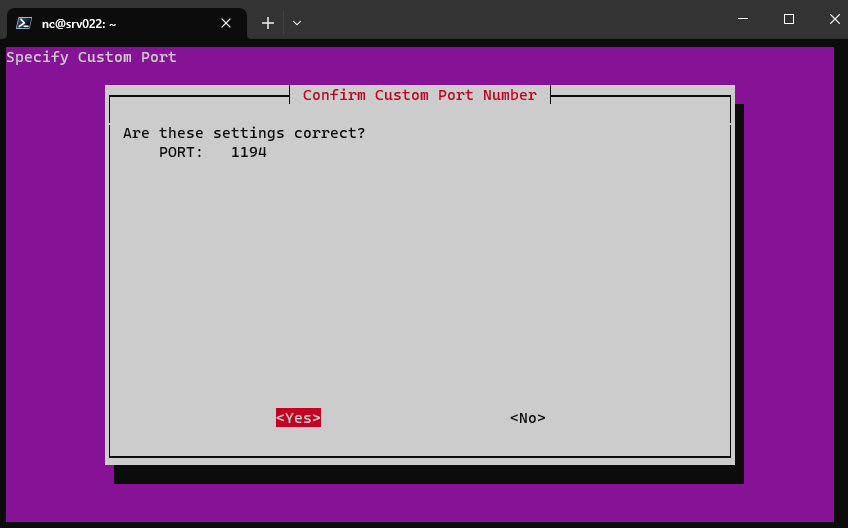
Last chance to change your mind on the Port used, push “Enter” to continue.
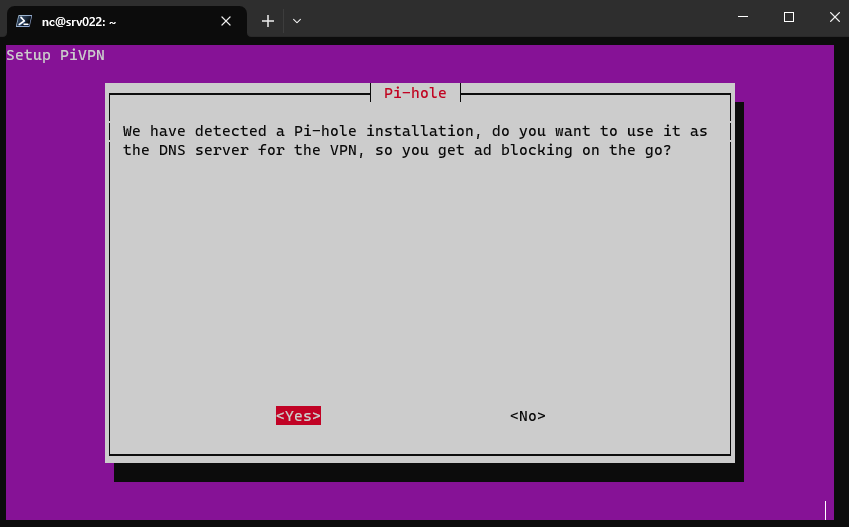
If you want to use your Pi-Hole as the DNS server for the VPN clients, then select “Yes” and continue.
The next step is important, recommend that you chose “DNS Entry” (unless you have a static IP).
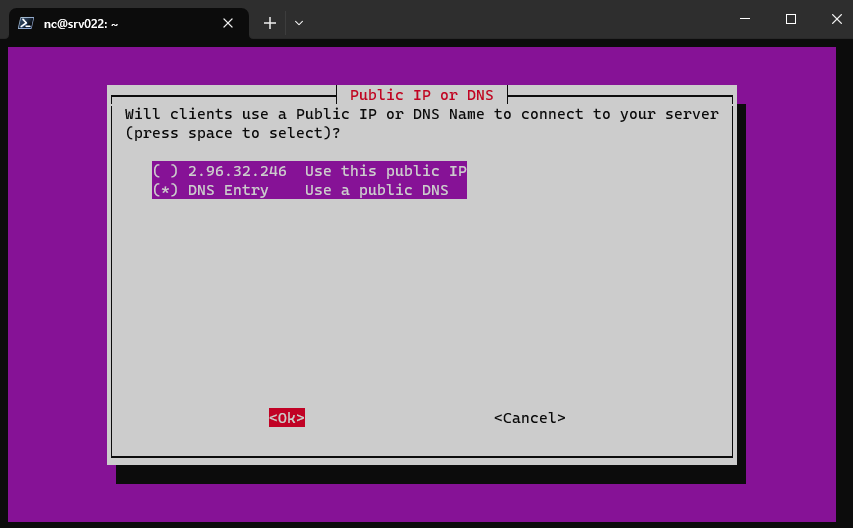
Then enter the subdomain to be used for the VPN connection, before you press “Enter”, create a DNS record for your subdomain, here we used “vpn.cloudtechtips.com” which we have pointed to the public IP address of this server.
You can use your own domain or a free DDNS such as “noip.com”, dynu.com, we used Cloudflare and created an “A” record pointing to the server’s IP.
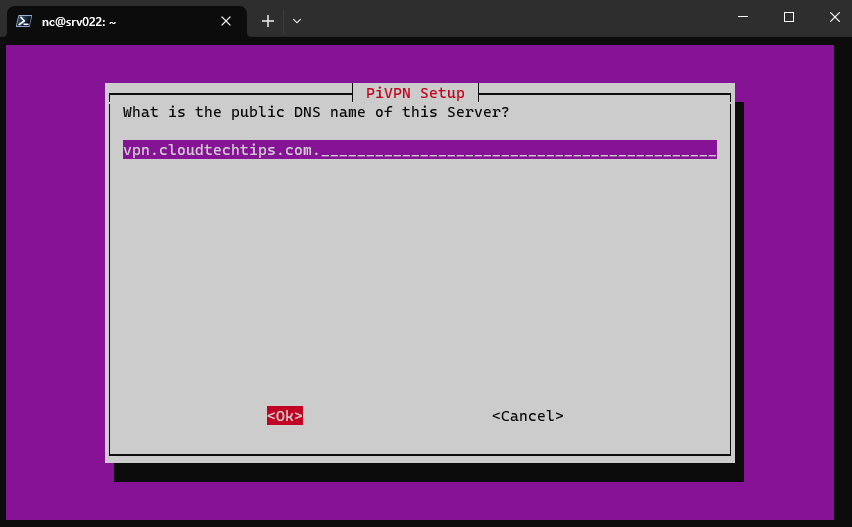
Hit “Enter”, then confirm if the DNS Name is correct again to move to the next step.
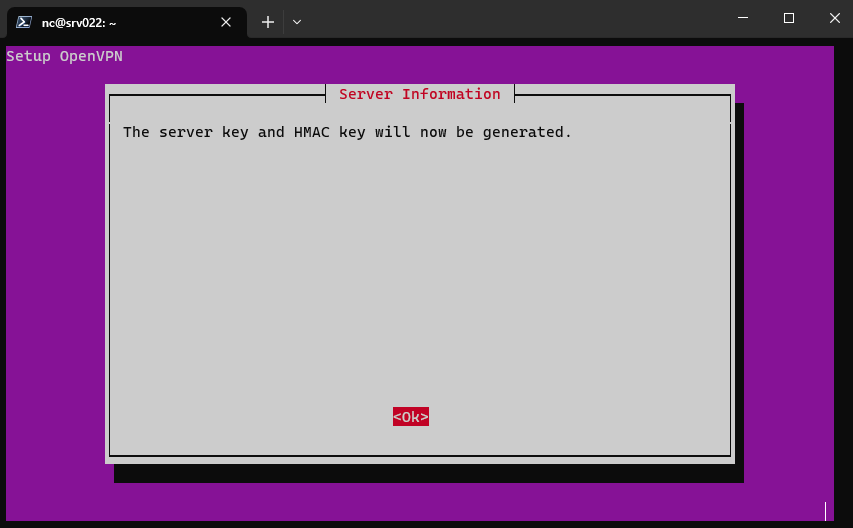
Again, hit “Enter” to continue.
Push “Enter” to continue.
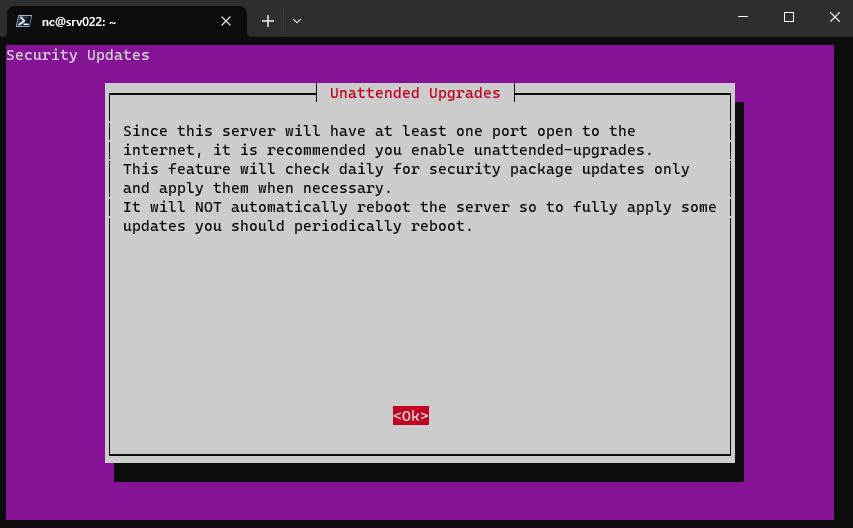
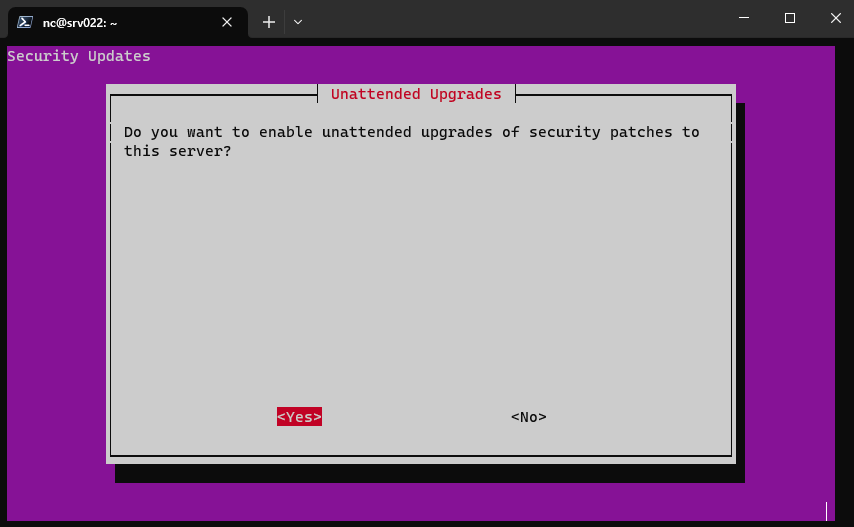
Then, chose to or not to enable “Unattended Upgrades”.
Push “Enter” to continue.
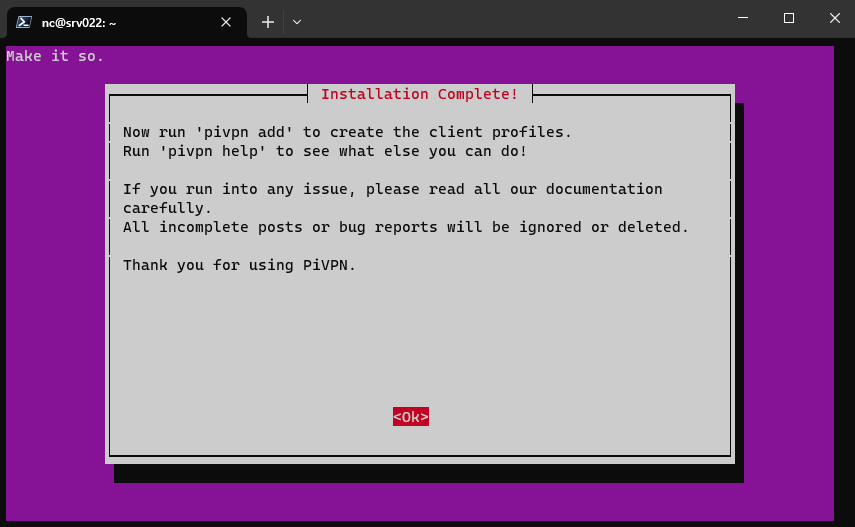
And that is it, installation completed.
Final hit on “Enter” and reboot your server when prompted.
Still to do:
- Opening the OpenVPN port on your Router, and pointing it to your server
- How to manage users in PiVPN
- Use WinSCP to download the created configuration file. (You can also ise Filebrowser to download the configuration file)
- Connecting your device to your OpenVPN server
You can now connect to your VPN and use Pi-Hole with any device anywhere you go.